
How to sew a checkered pillowcase using SCRAP fabric
This pattern is for individual home use only. The purchase of this pattern does not entitle you to print, copy or distribute the pattern. Profiting from this pattern or selling garments made from this pattern is not permitted. Please respect the designer.
What you’ll need
Pillow (mine is 40cm X 40cm)
Thread
Pins
Scissors/Rotary cutter and snips
Fabric/Scraps
Paper
Sewing machine
Overlocker (optional)

STEP 1
Create a single pattern piece that you’ll use for the checkers.
Mine measures 11.2cm X 11.2cm which includes 1cm seam allowance.

STEP 2
Cut out the checker pieces in your chosen fabrics and colours.
If you’re using the same measurements as me you’ll need 25 checker pieces in total.

STEP 3
Lay out all the checkers and decide what order you want them in.
You’ll have 5 rows and 5 columns if you’re using my measurements.

STEP 4
Your going to sewing squares together to create a row.
Start with the far bottom left square and place it right sides together to the square next to it. Sew these together along one edge (with 1 seam allowance if you’re using my measurements). Continue this method until the row is completed, then repeat to create the other rows.
Remember to iron your seams.

STEP 5
Next you’re going to sew those rows together to create one big square.
Start with the bottom row and place it right sides together to the row above it. Sew together along the long edge (with 1 seam allowance if you’re using my measurements). Continue this method until you have on big square.
Iron seams

STEP 6
If you’re using my measurements your front piece should now be approx. 47cm X 47cm.
To create the back panels cut two 47cm by 35cm pieces.
I was naughty and didn't iron my fabric before cutting, don’t be like me!
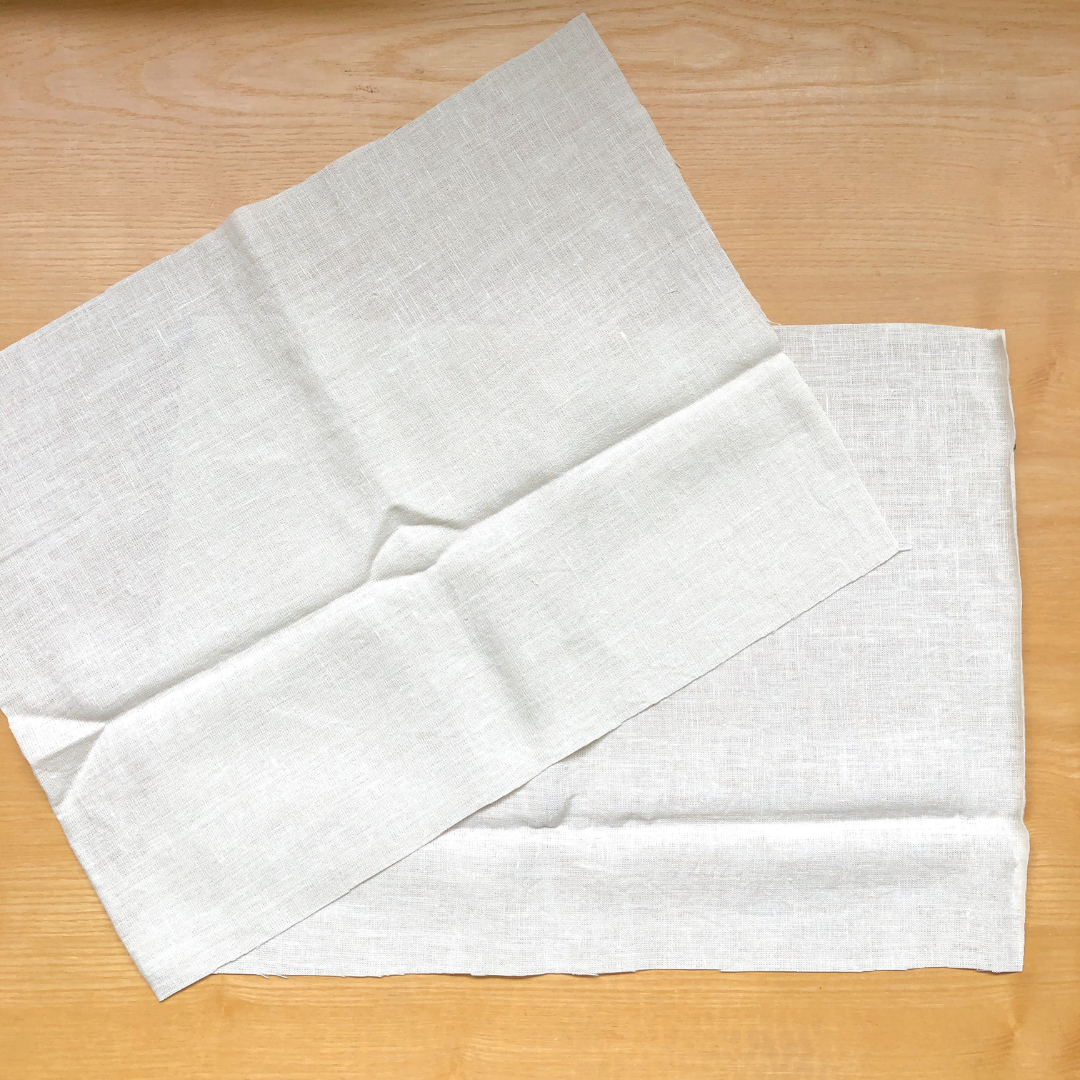
STEP 7
On each panel, finish one of the longer edges with a rolled hem.

STEP 8
With right sides together place one of the back panels to the front piece, like so.
Stay stitch if needed.

STEP 9
Take the other back panel and place it right sides together, like so.
Sew around all four edges (with 1cm seam allowance if you’re using my measurements).

Overlock raw edges.

STEP 10
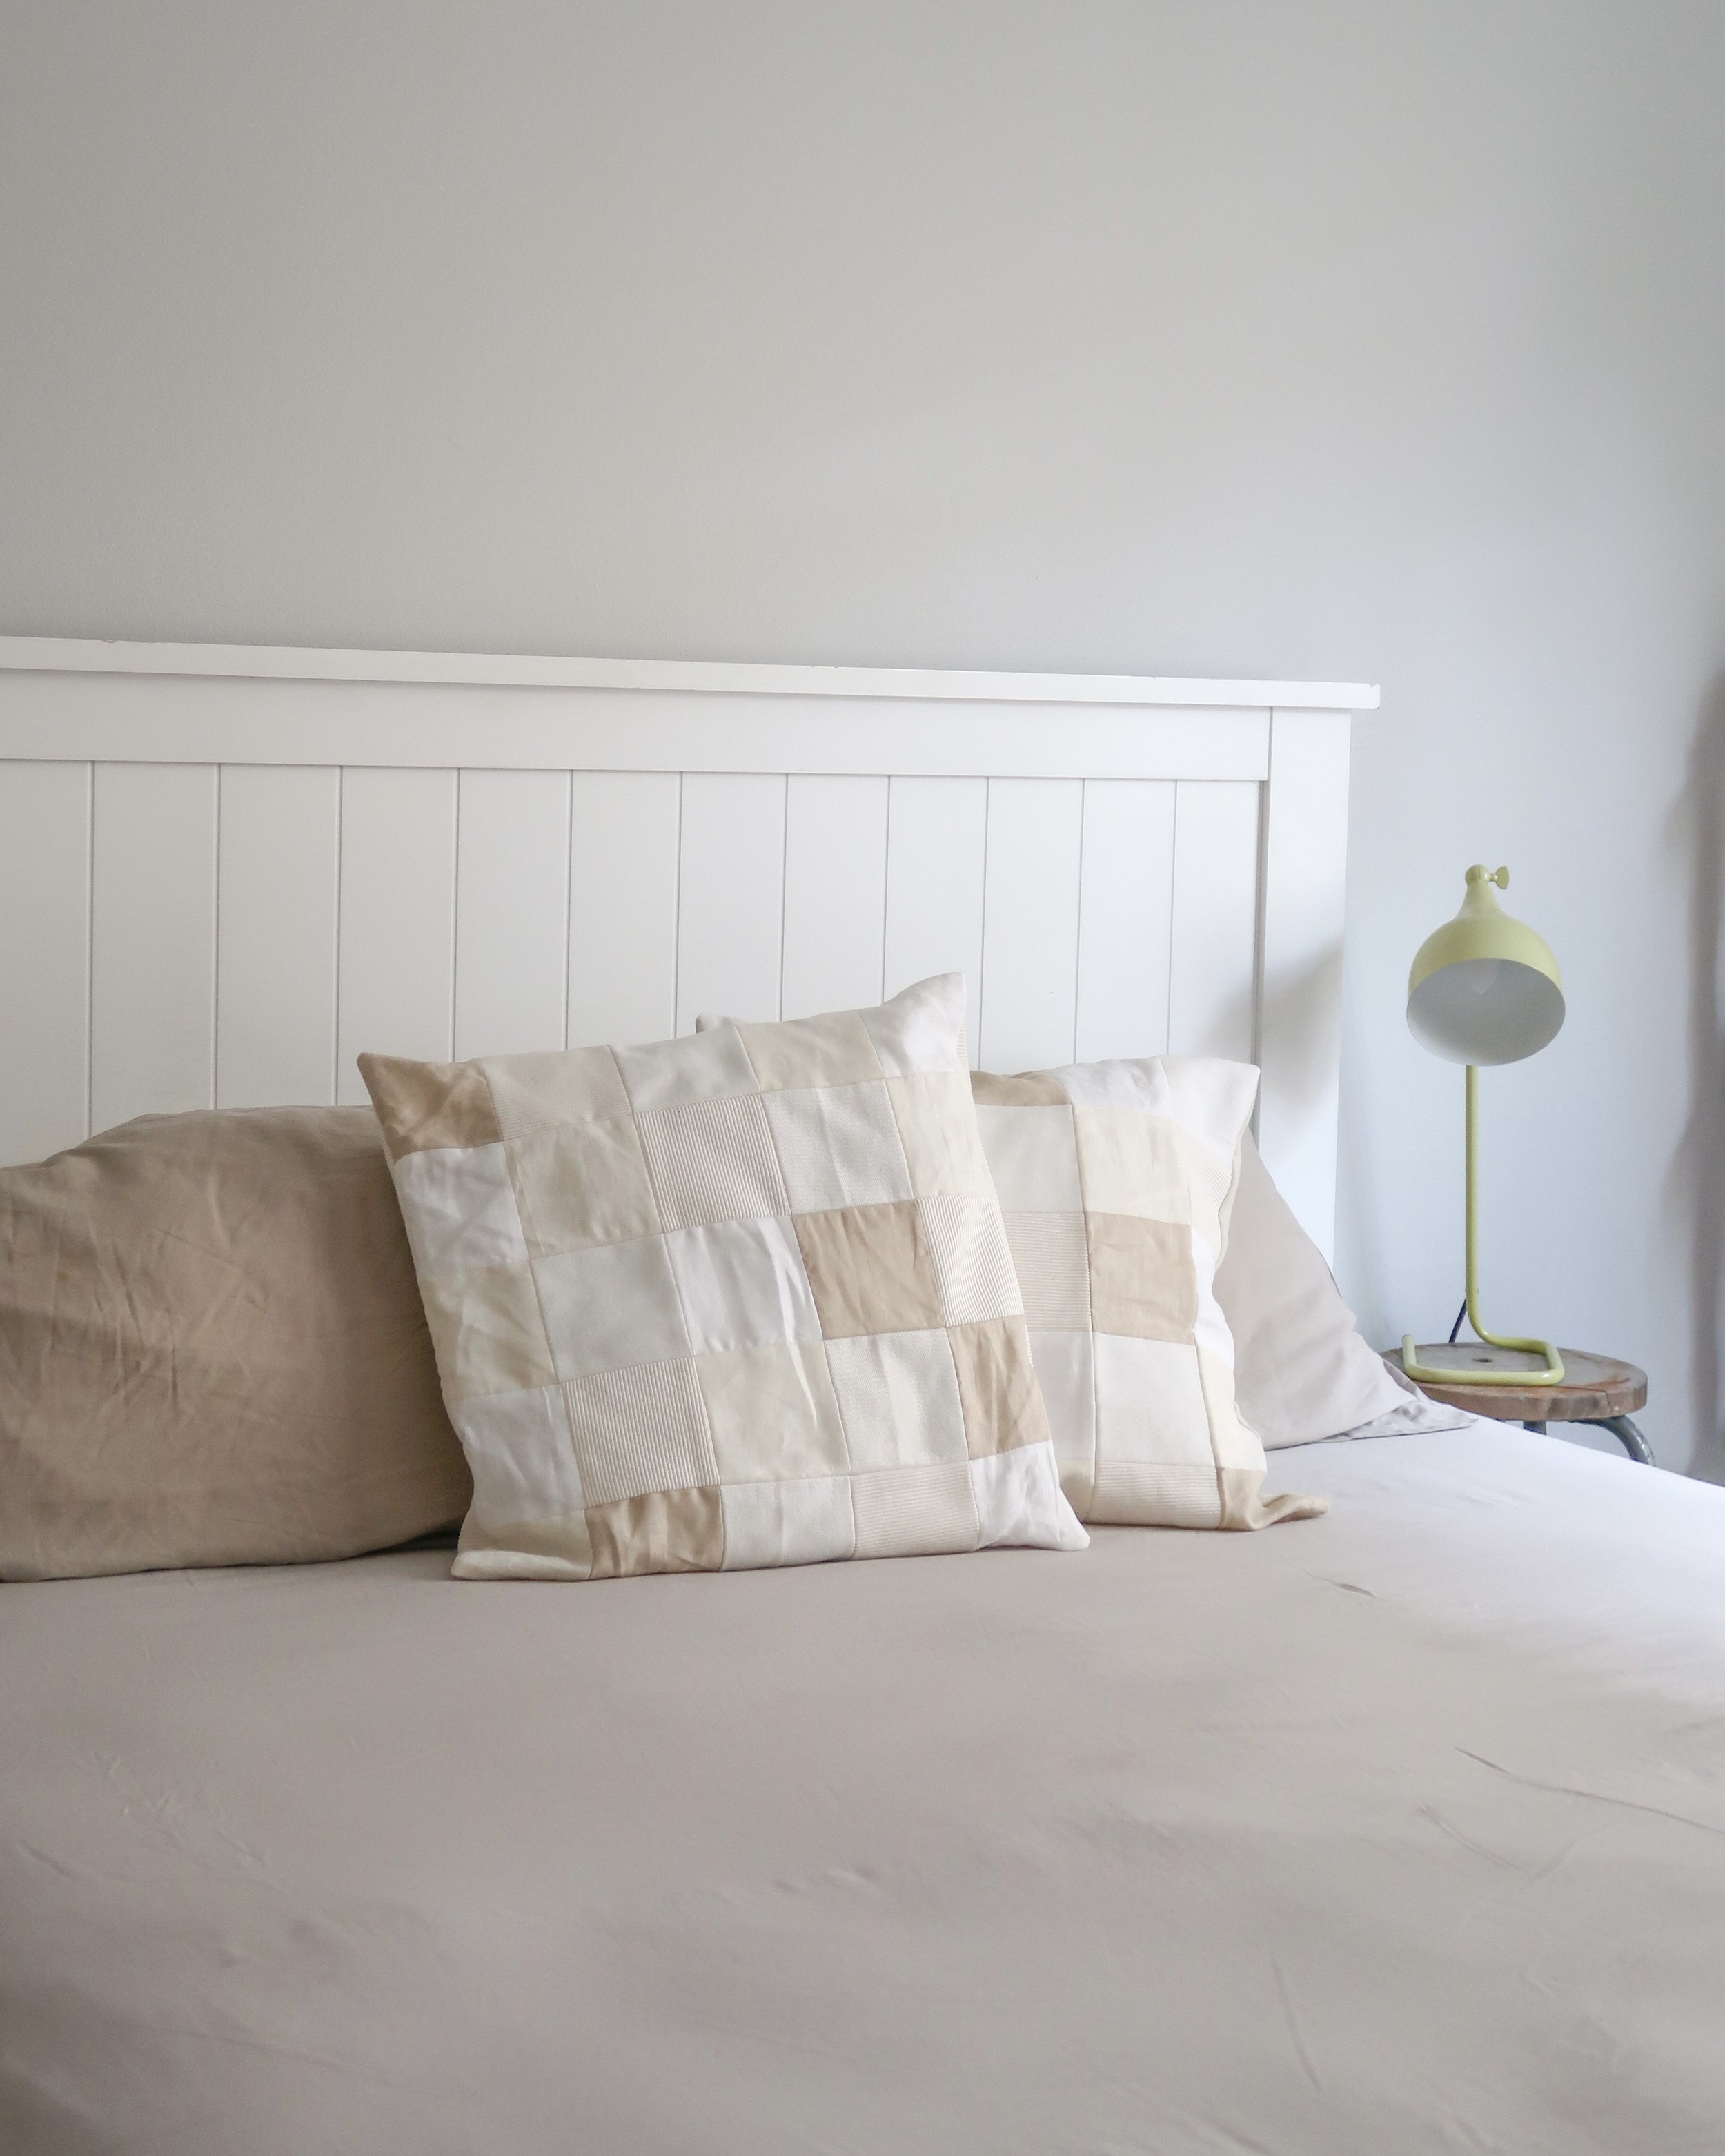
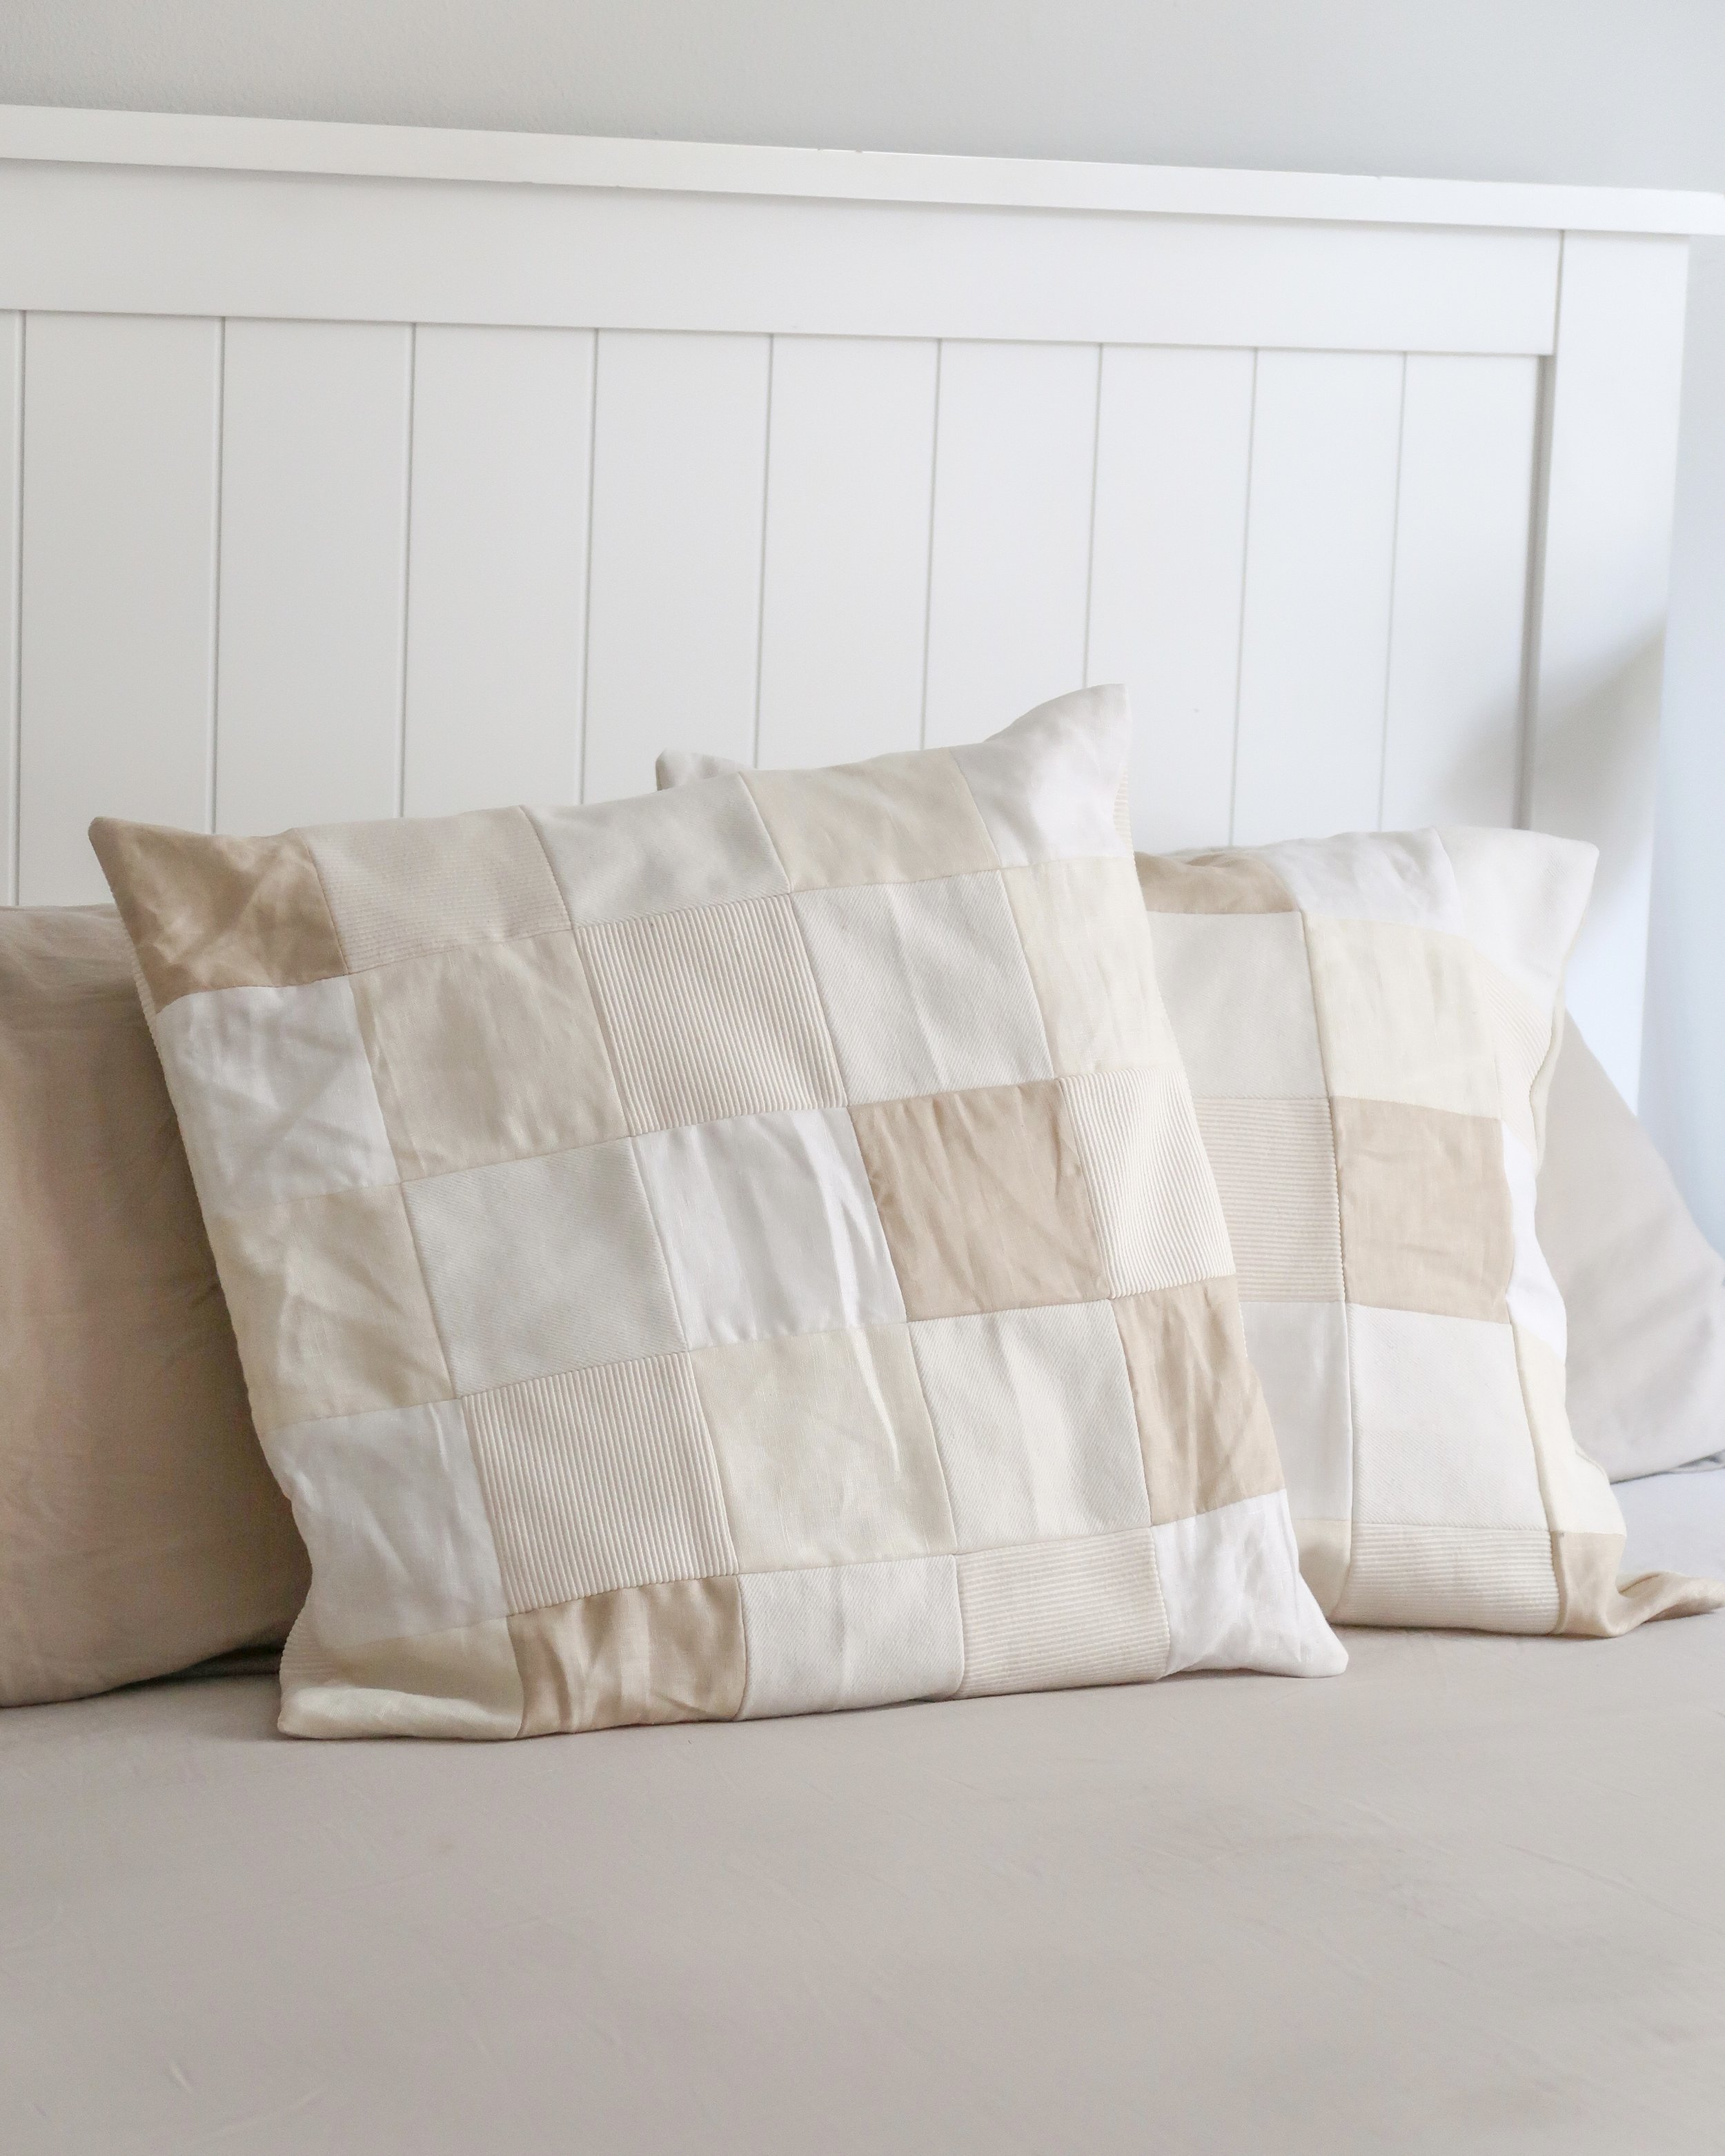
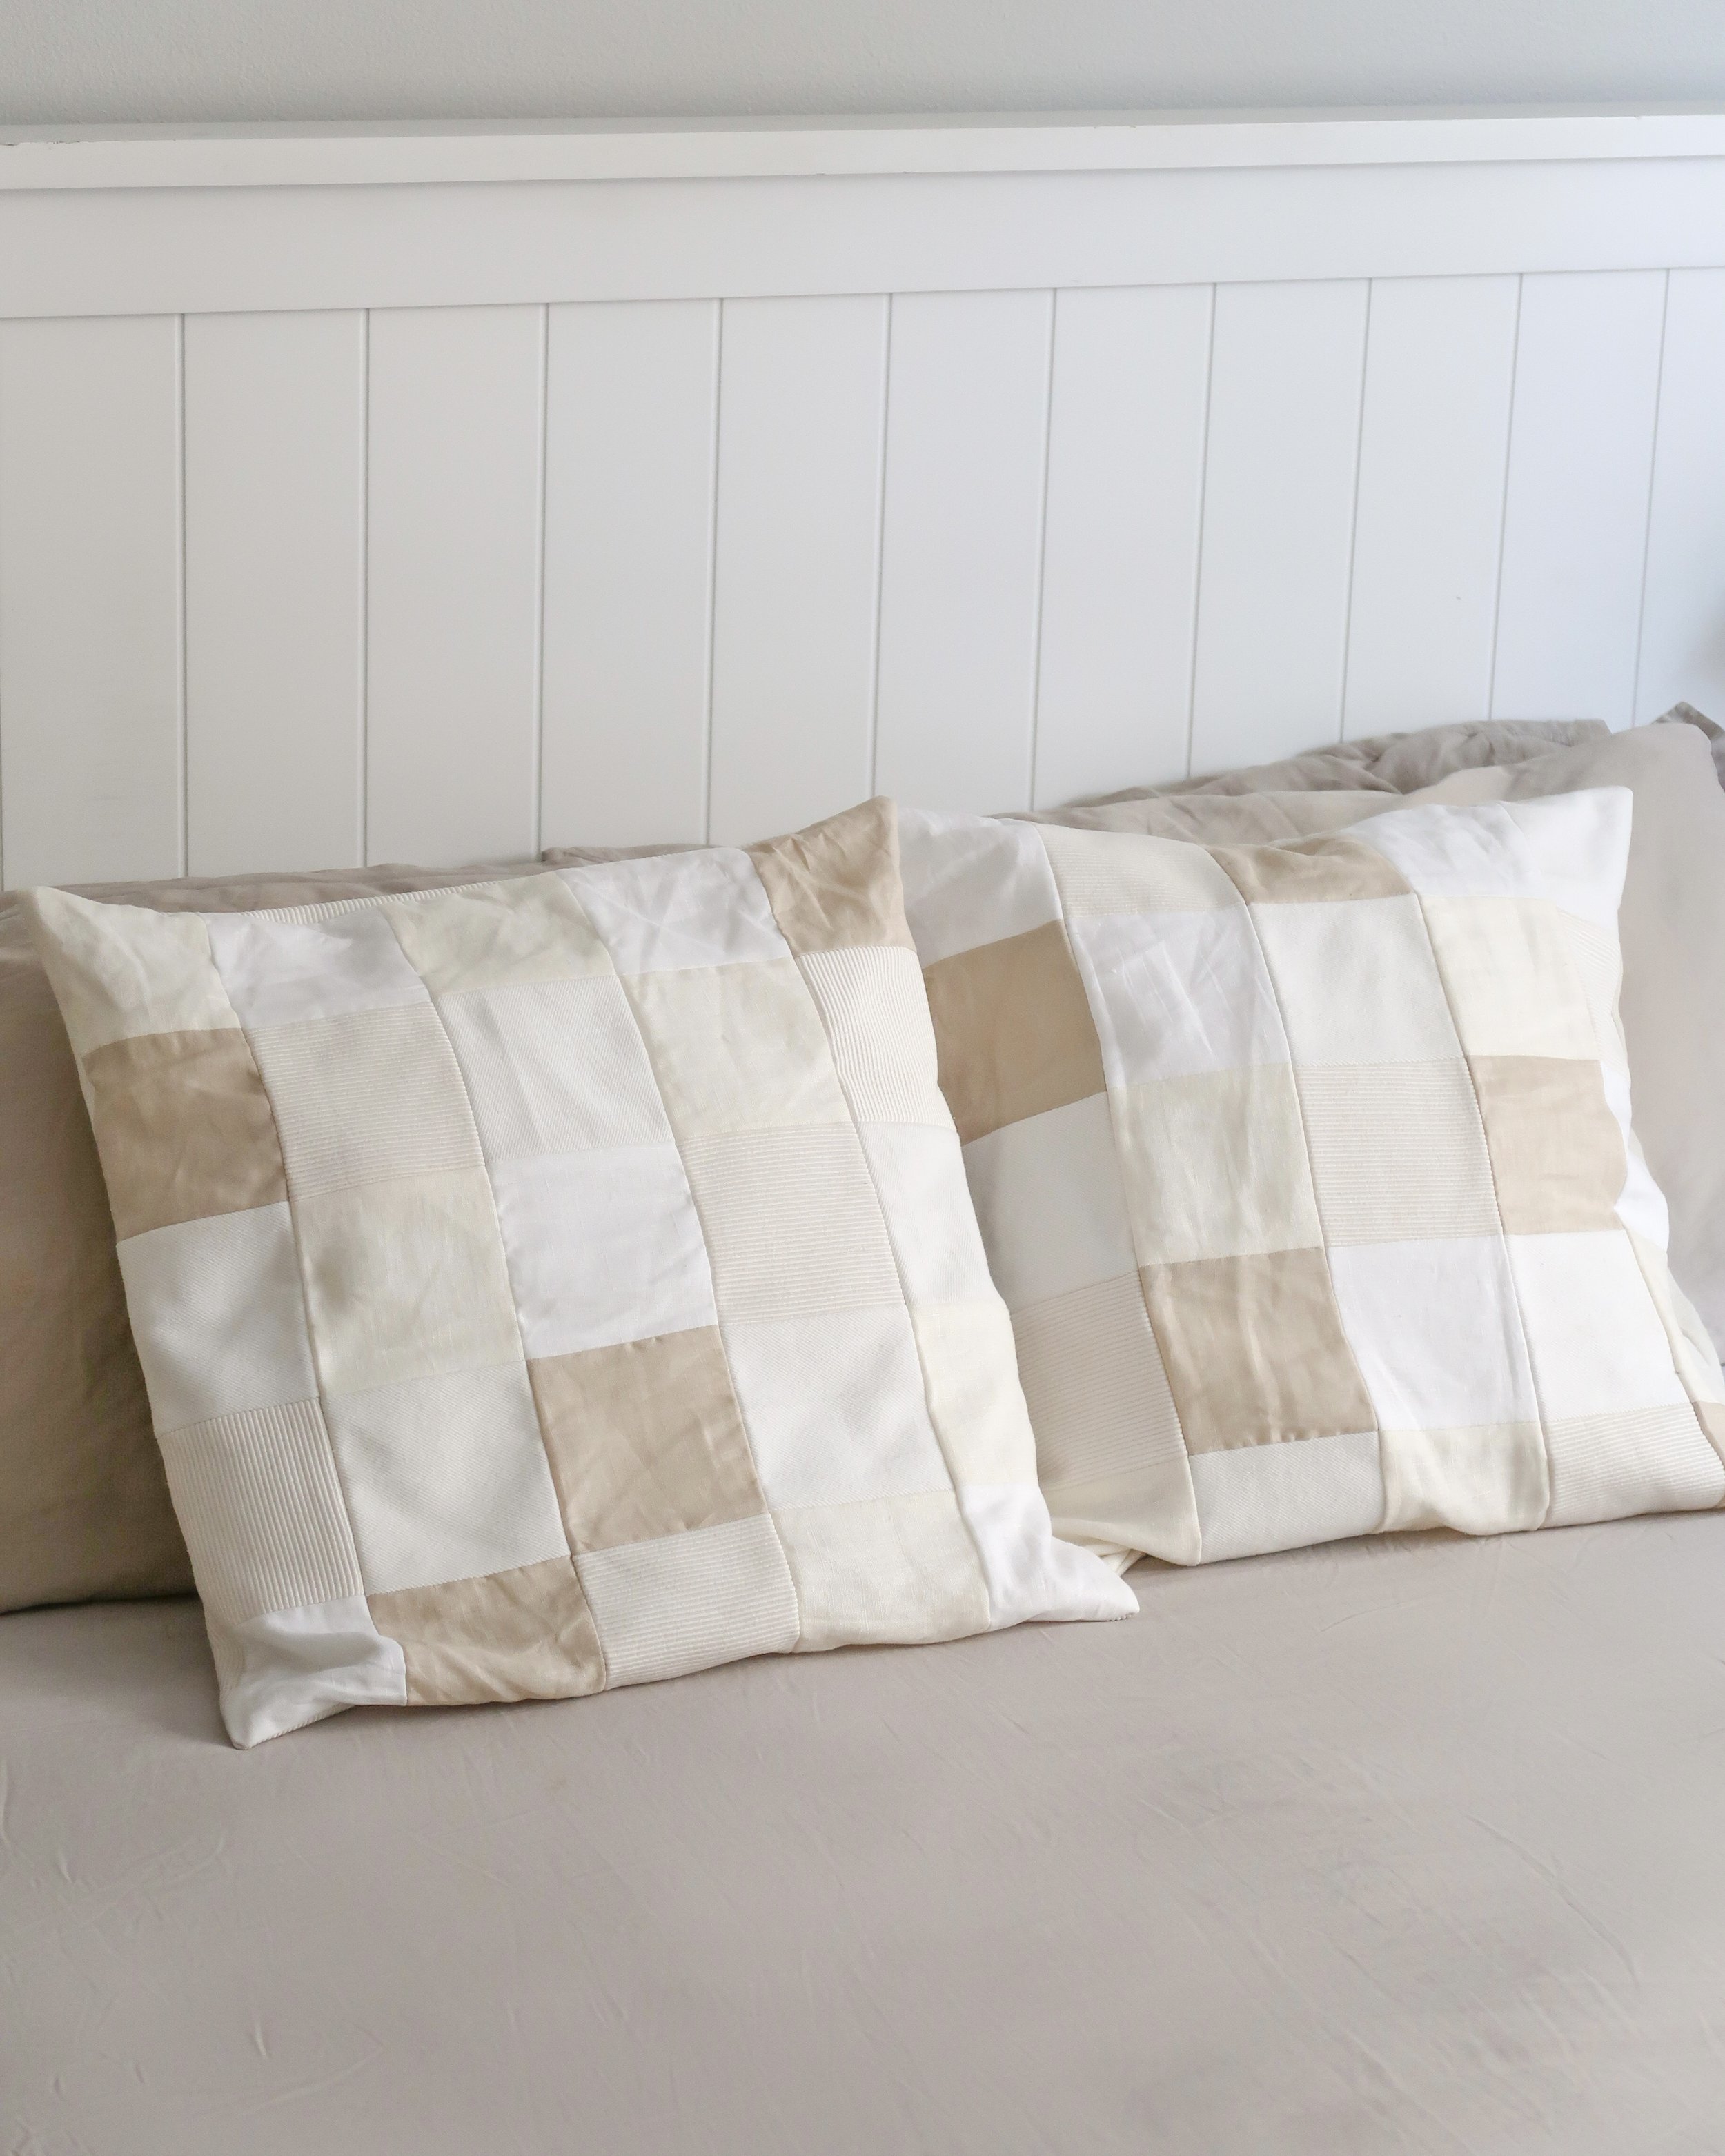
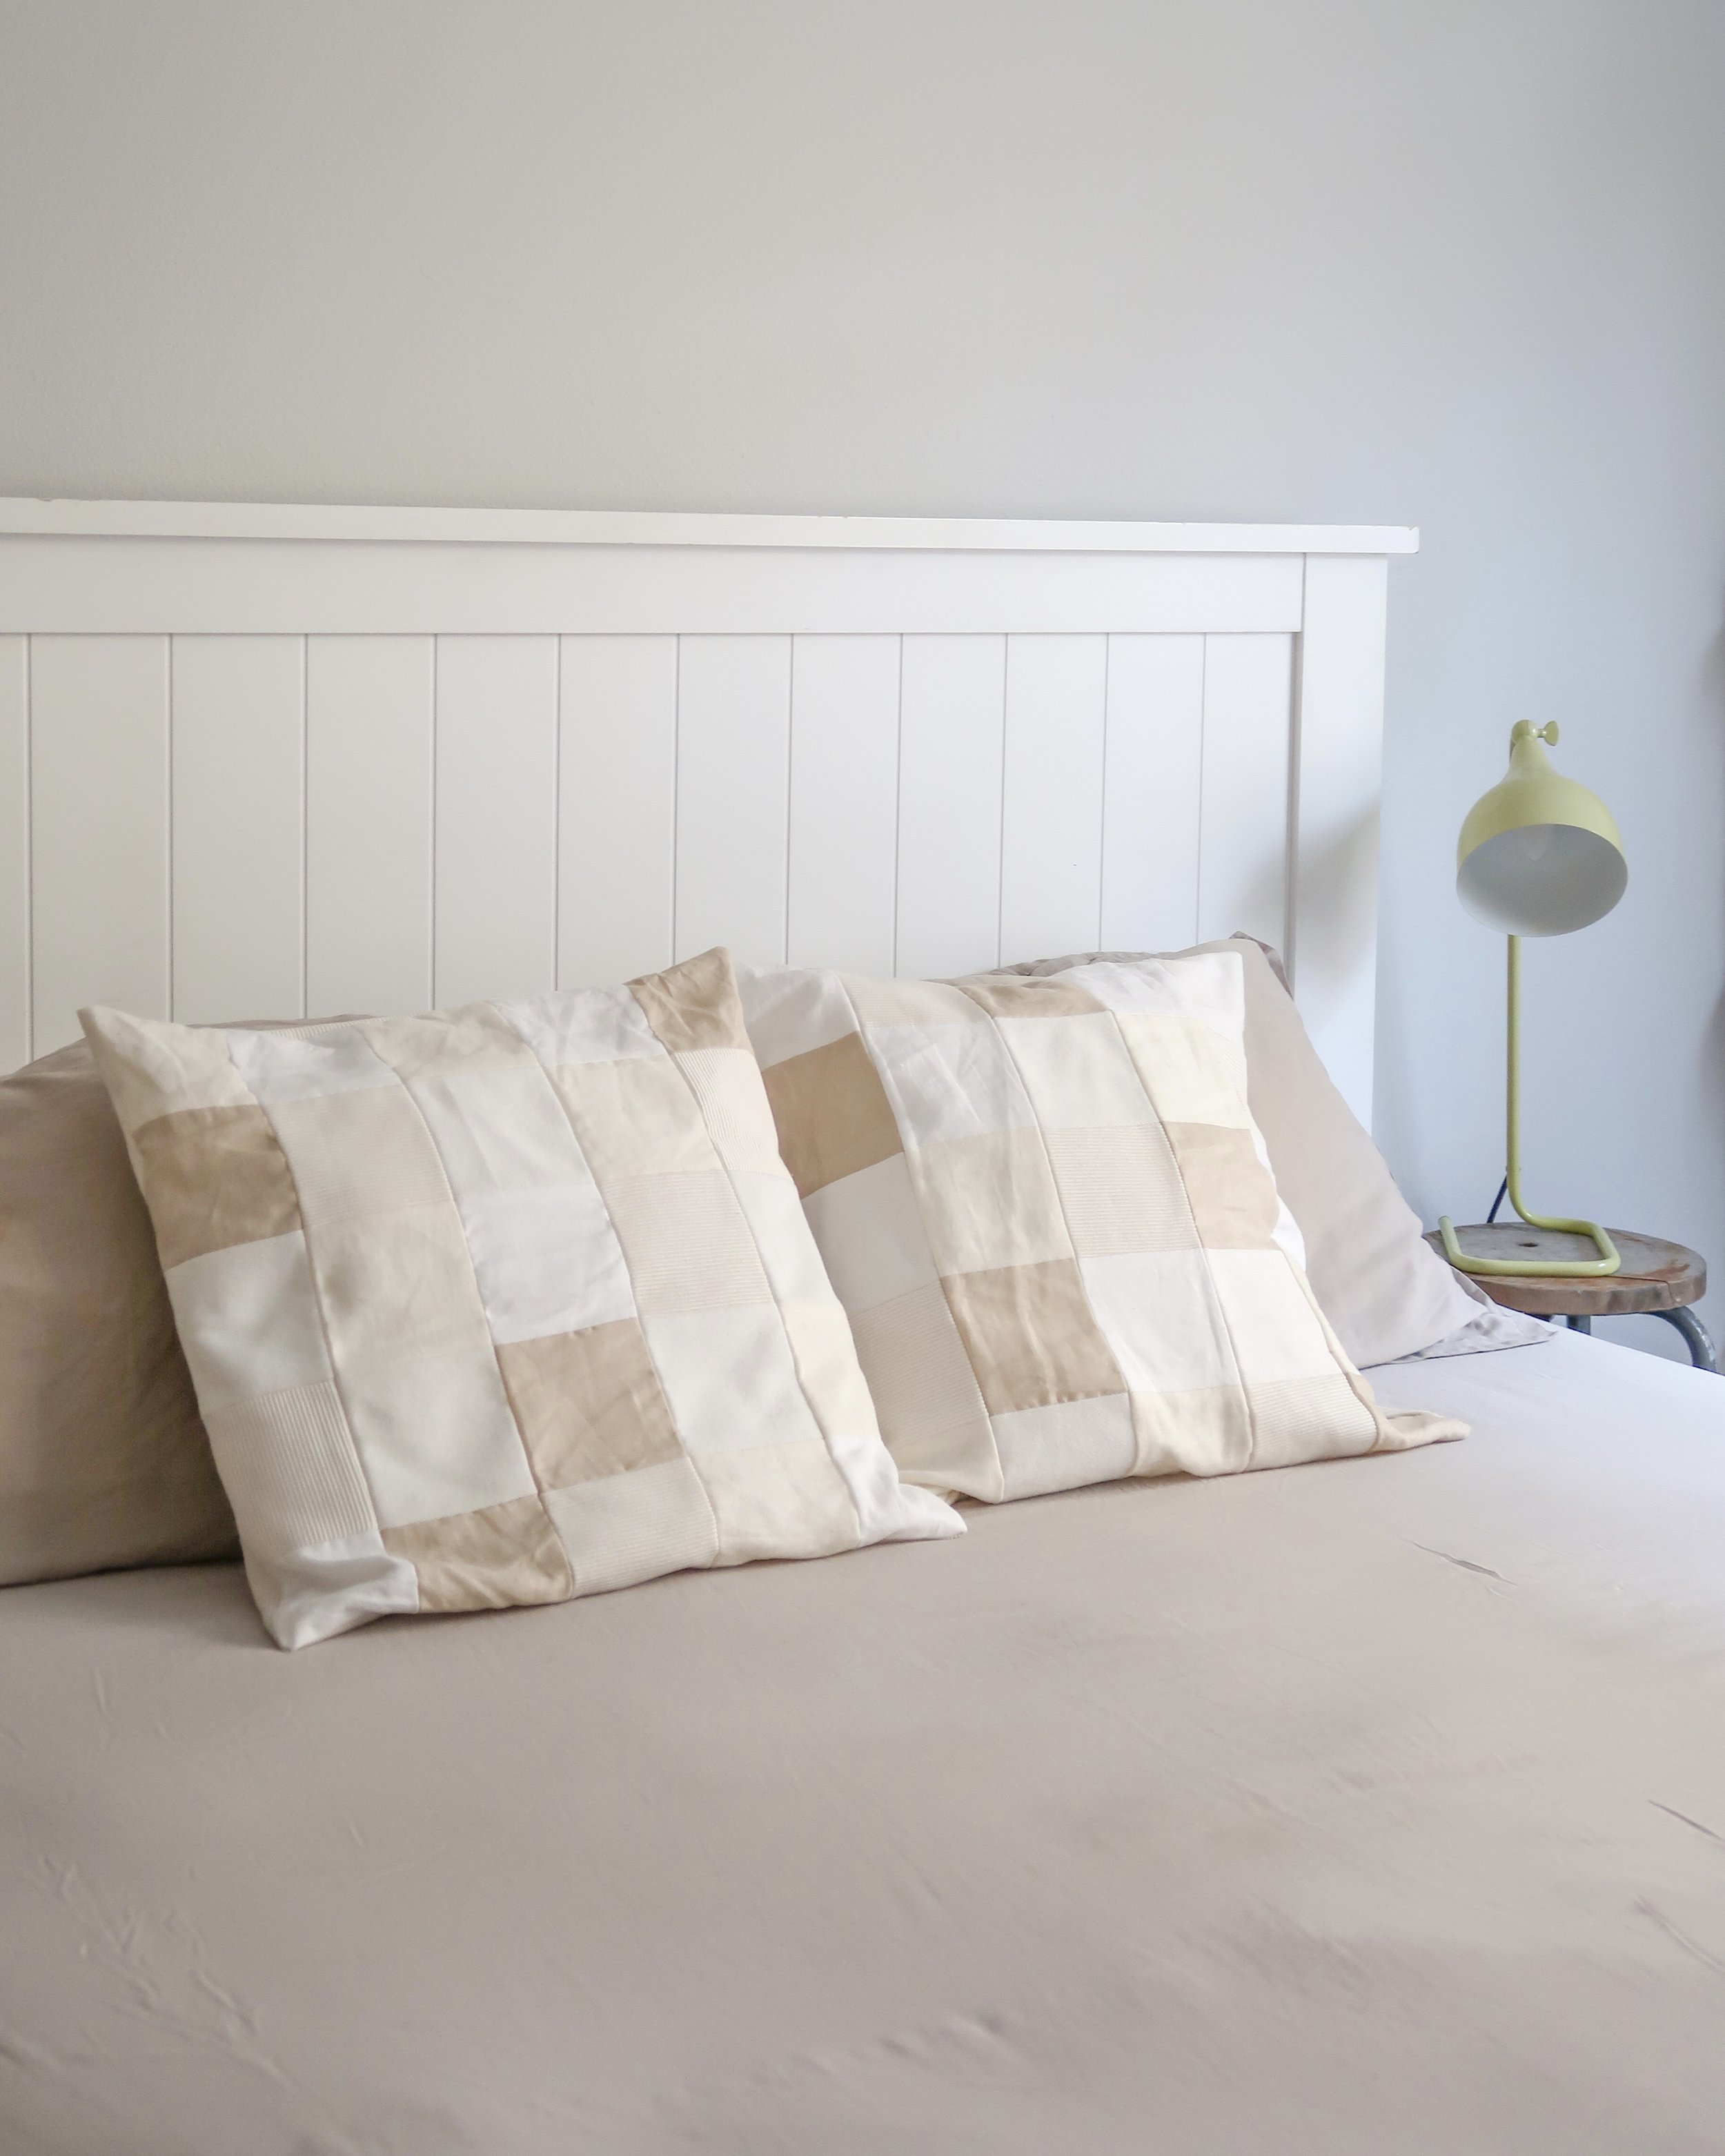
Flip inside out, and insert your pillow.
You are all done to enjoy your new pillow made from scraps!
Don’t forget to share your top with me on social media using the hashtag #gptutorials and tag @georgias_portfolio

